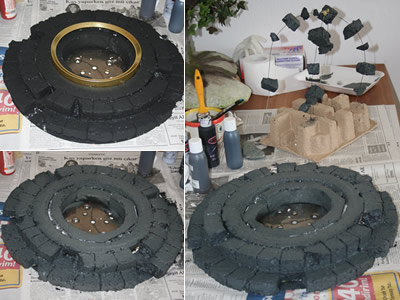
After a day of unsuccessful painting, I decided to really “think” and find a way to get the right look. I went out for a walk and found a piece of stone which was in the right color I wanted for my ruins. Besides color, there was also a problem with the edges of the blocks. Those were too sharp for ruins. So, I started with melting the edges with the candle.

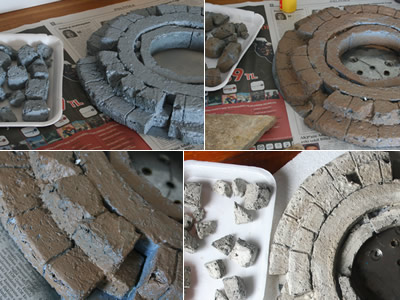
Then painted whole model with a light grey spray paint. After it was dry, I drybrushed several layers referring to the real stone I have. First light grey undercoat, second a light burnt sienna then burnt umber with a lot of white, some red, yelow,… Just mixed acrylics to get the right color each time.

I drybrushed very very light almost a white color at the end to get a better contrust. Here is the end result:

Not perfect but this is very closed to what I had in mind. It will also look better when it is placed inside the rocky surface with the right lighting.
Next comes working on the actual clock part.. Tomorrow?? Yes, starting tomorrow...